Week 2
Assignment
- Select any object.
- Measure it accurately.
- Draw it using CAD software.
- Cut any design using a cutting plotter.
- Design and cut a parametric construction set from cardboard using a laser cutter.
- Ensure the pieces can be assembled in multiple ways.
- Consider the kerf (width of the laser beam) to ensure a proper fit.
Cutting Plotter
For the first task, I decided to print one of my favorite objects, Rubik's Cube.
I got the SVG from The Noun Project.
Issue
The SVG could not be imported into the cutter program, so I had to convert it to DXF.

The cutting strength I used was 2, but even with slightly higher strength, the inner pieces of the Rubik's Cube were difficult to separate from the negative.
Cut
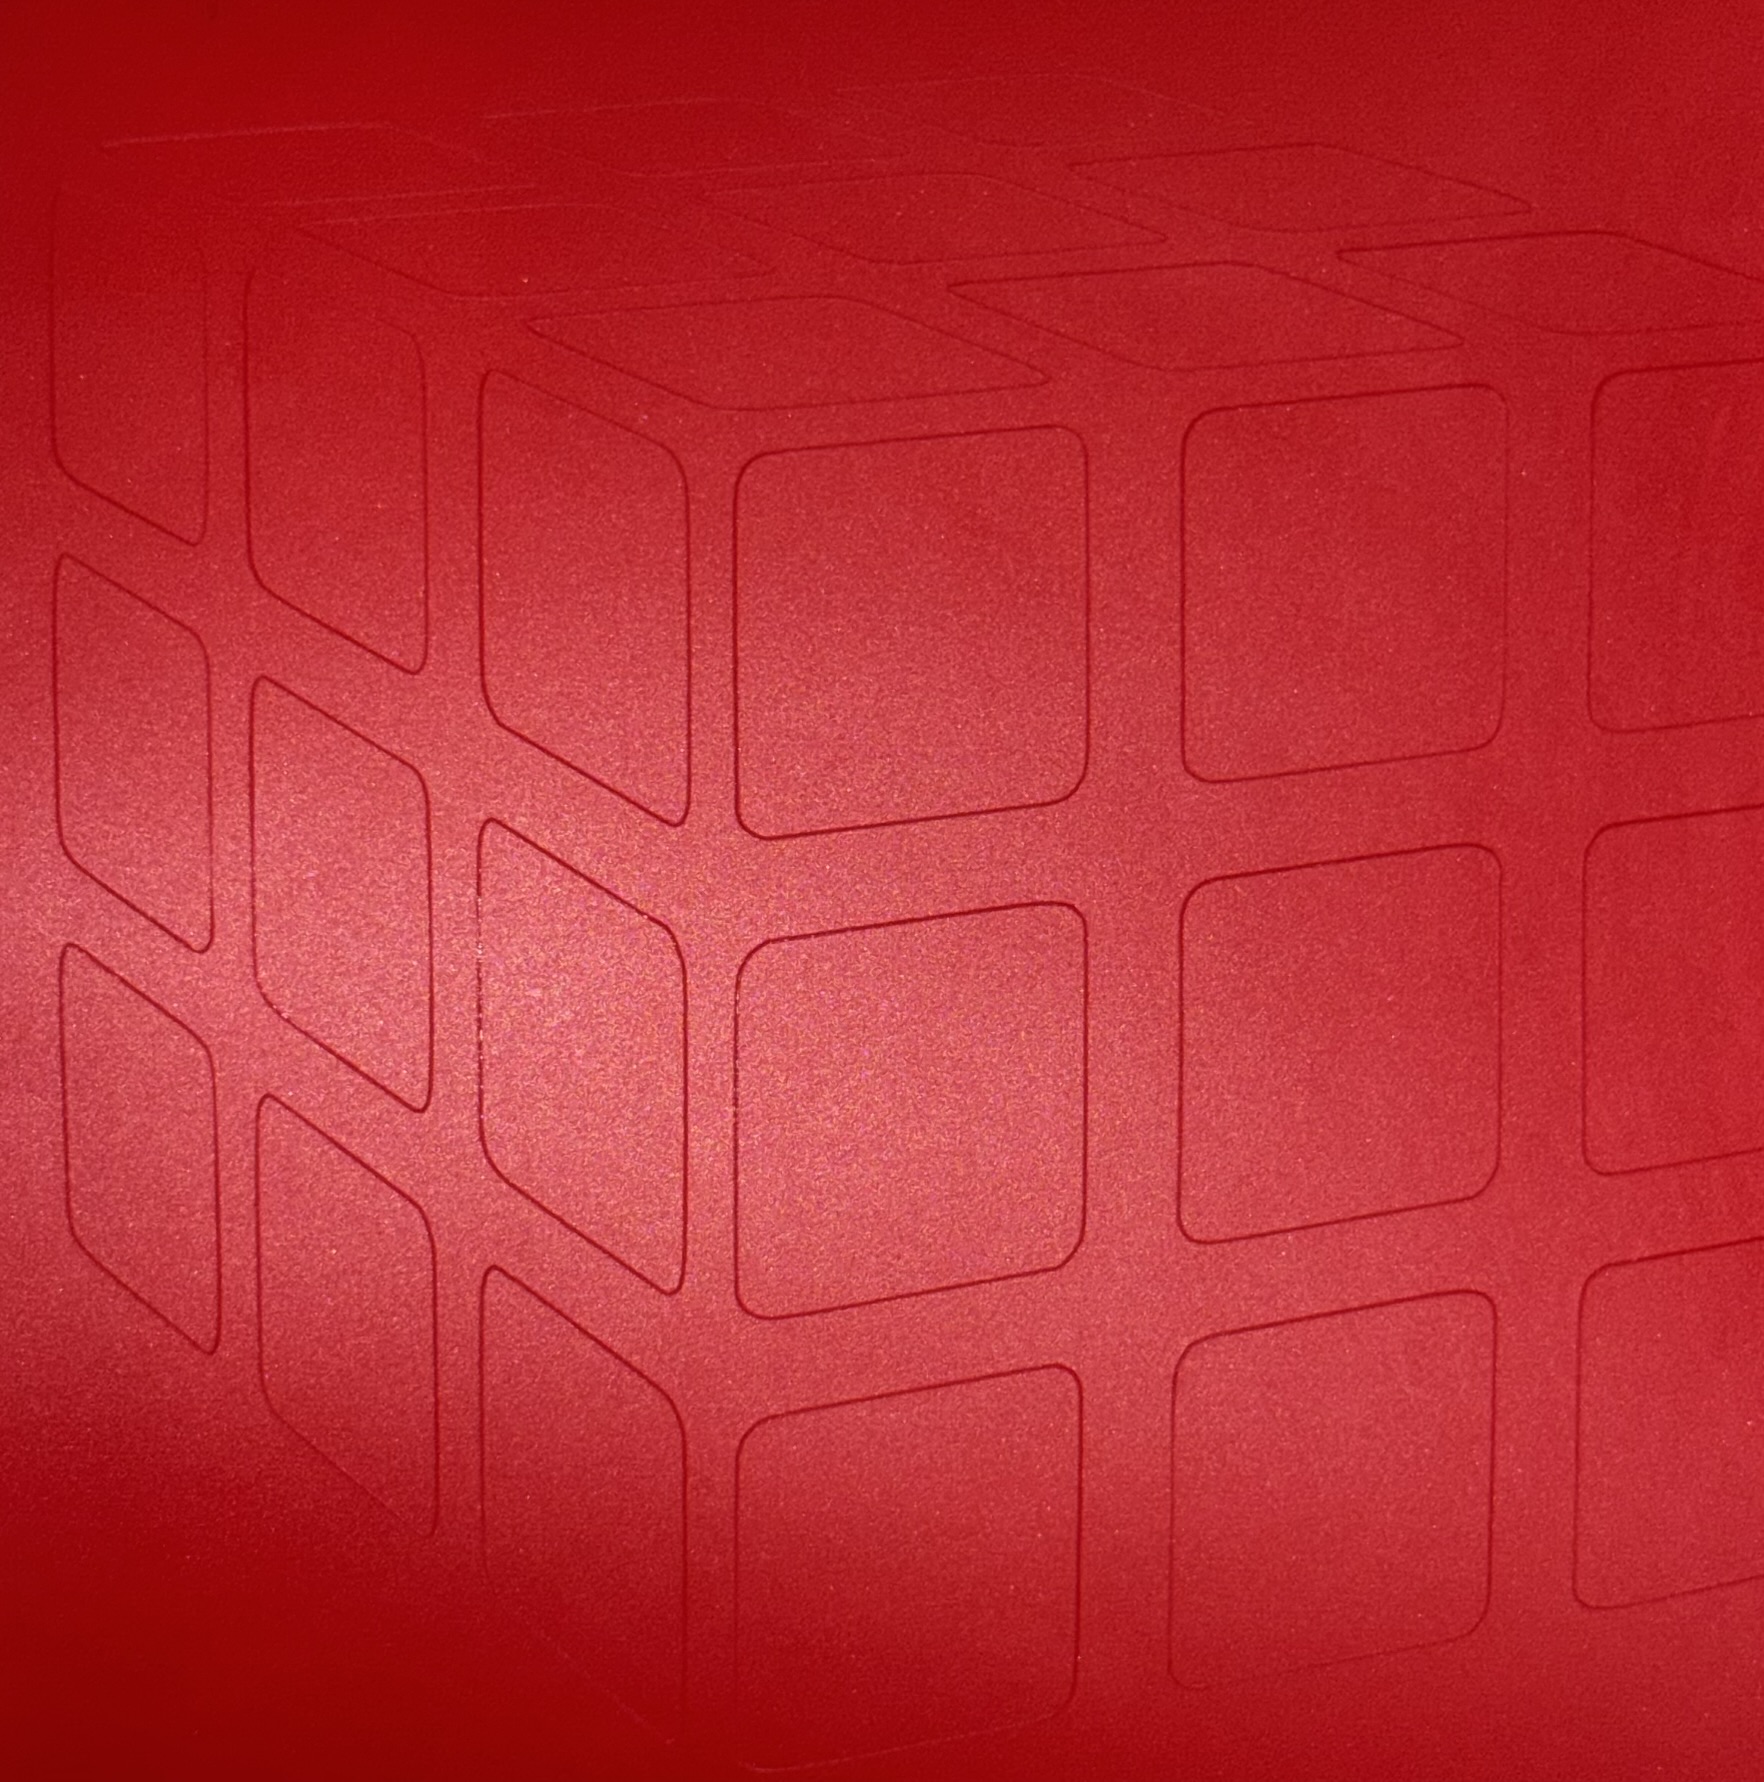
Final Result

Transfer Issue
At the end, I applied a transparent layer to transfer the sticker as a whole, but the adhesive was not strong enough.
The sticker is now stuck on the bottom layer.
Laser Cutter
For the second task, we needed to model an object that would be cut into cardboard and assembled into a 3D object.
Choice of Software
Since I had little experience with Fusion 360 and liked the intro to OpenSCAD,
I decided to model something in OpenSCAD.
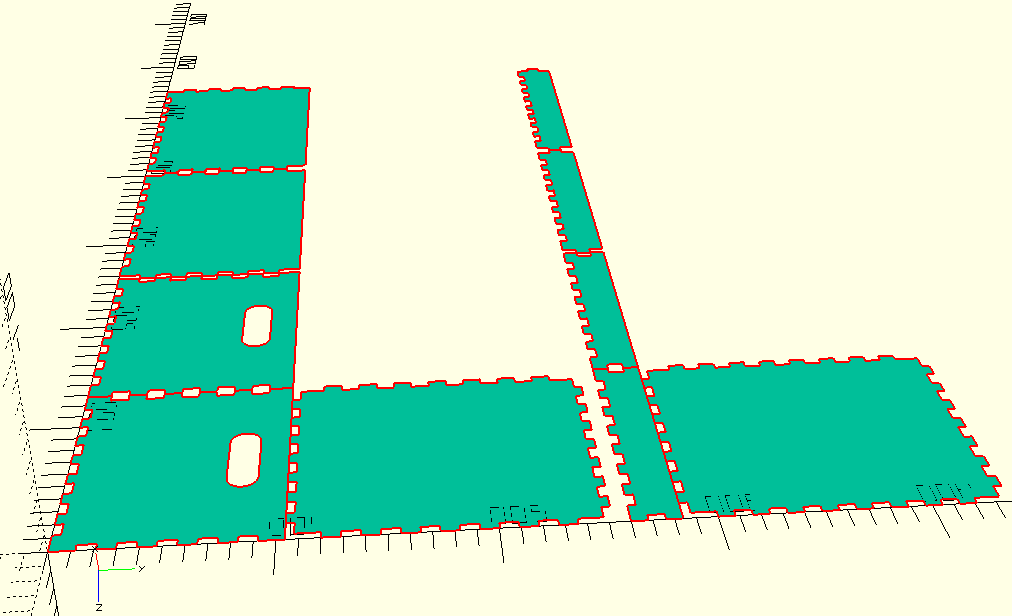
I used the Box Generator, which allowed me to create a box based on my parameters.
The tool also supports a kerf parameter. I didn’t use any for the initial test, but 0.1 mm seems to be a good fit for the joints.
To personalize the box, I added handles by subtracting rectangles and half-circles from the sides.
The lid was created the same way as the box itself but was scaled according to the cardboard thickness (~2.5 mm).
Engraving Test
After cutting the box, I also tried engraving a raster image.
- Speed: 100%
- Power: 20%
Power Issue
Unfortunately, this setting almost cut through the cardboard, but the result was still good.
Assembled Box

